

Instructions for Purchasing PU Spray Foam Machine
Polyurethane high-pressure spraying equipment can be used for: industrial maintenance, roadbed waterproofing, auxiliary cofferdam engineering, storage tanks, pipe coatings, cement layer protection, roof waterproofing, basement waterproofing, wear-resistant lining, exterior wall insulation, cold storage insulation, pipe insulation , solar pouring, polyurethane insulation construction, etc. The polyurethane spraying machines produced by the company are used in cold storage insulation spraying, exterior wall insulation spraying, carriage insulation spraying, color steel tile spraying, roof waterproofing and insulation spraying, solar foaming machines, insulation bucket foaming machines, insulation water tank foaming, and anti-theft doors and windows. Filling, product packaging foaming, buffering and shock-absorbing foaming series products all meet domestic and foreign construction requirements.
Product advantages of polyurethane high-pressure spraying equipment:
1. The maximum working pressure of spraying equipment is 10MPA, and the head is not less than 45 meters;
2. The equipment has a 2500W dual heating system to ensure the optimal temperature for raw material mixing;
3. The polyurethane composite material is mixed at high pressure at the gun head. The mixing is fast and even. The pressure is released and the atomization is fine. The spray surface can be controlled to fluctuate around 3mm;
4. The equipment is equipped with an automatic material lifting pump as standard, which automatically extracts raw materials and saves manpower;
5. The equipment comes standard with the Grass 5th generation special spray gun. The metal friction pair replaces the plastic friction pair of the 3rd generation spray gun, which is more durable. The built-in nozzle completely avoids the frequent breakage of the nozzle of the 3rd generation gun.
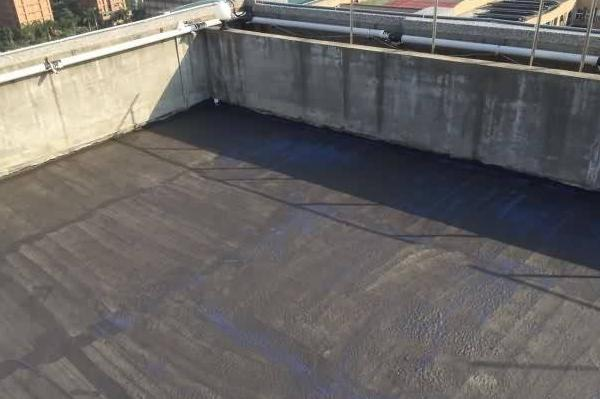
Polyurethane spraying construction process
Before the construction of the polyurethane topcoat, base surface treatment and primer spraying are required, followed by the construction of the polyurethane topcoat.
1. Processing of basic interface
The base wall needs to meet the requirements, the verticality is within 10mm and the flatness of the wall needs to be 5-8mm. The walls should be kept clean and tidy, without laitance or dust, etc.
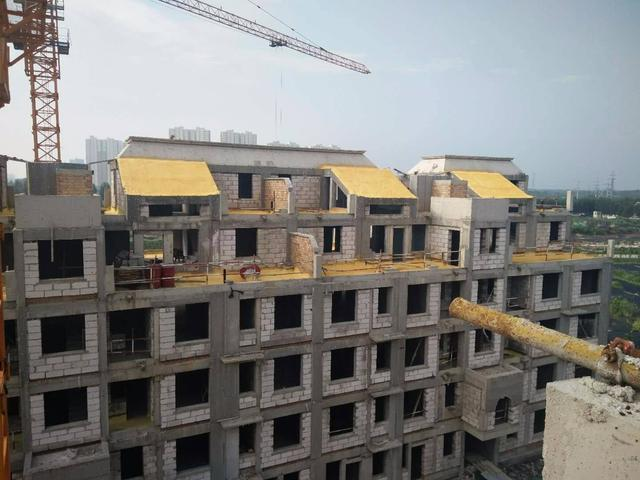
2. Hoist transverse and elastic control lines
If it is a skyscraper, you need to use a theodolite to hang the wire. If it is a multi-story building, you need a large wire pendant to hang a thin steel wire hanging wire. Use expansion bolts under the top wall and bottom wall to serve as a large wall. wire hanging points.
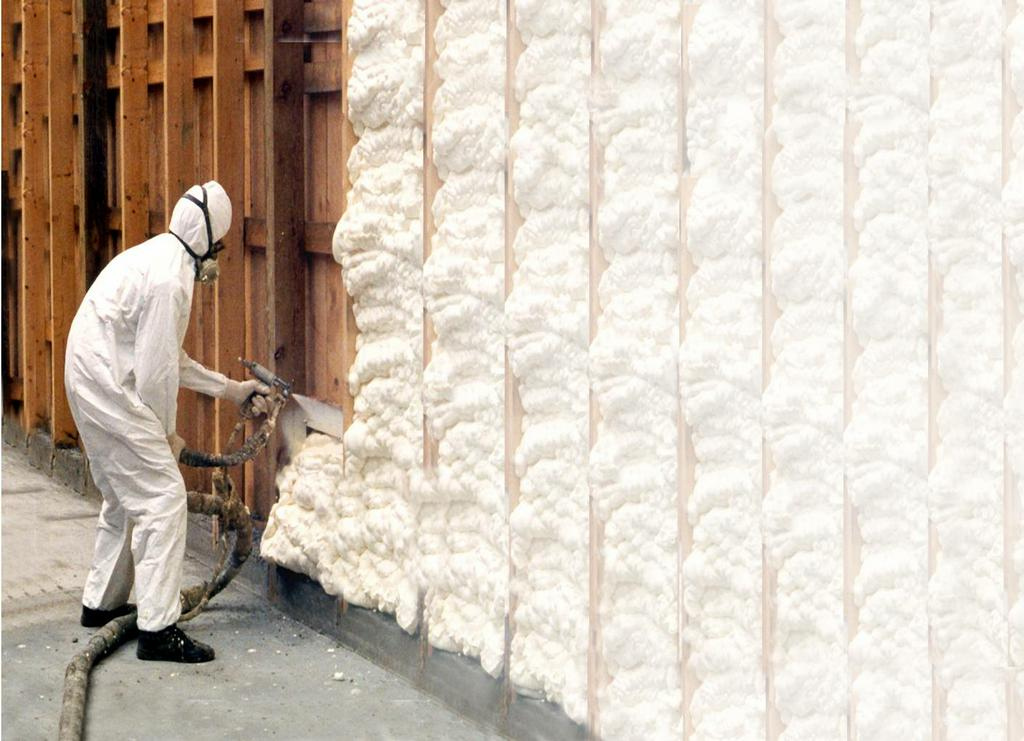
3. Spray rigid foam polyurethane
Use a polyurethane sprayer to spray rigid foam polyurethane on the wall surface. The application must be even. When spraying, start from the edge, then wait for bubbling, and then spray through the blistered edge. Pay attention to the thickness requirements when spraying and must comply with the thickness specifications. Normally, the thickness should be around 10mm during the first pass of spraying. In the second coat of spraying, the thickness should be within 15mm.
4. Apply mortar to the interface
Four hours after the polyurethane base layer is sprayed, the polyurethane interface mortar can then be applied. You need to use a roller to evenly apply the polyurethane mortar to the surface of the polyurethane base layer. After spraying is completed, you need to wait twelve to twenty-four hours before the next process can begin.
5. Construction of anti-crack mortar layer and facing layer
1) Paint finish
2) At this time, it is necessary to apply anti-crack mortar and lay mesh cloth. After the anti-crack mortar is applied, it needs to be checked to see if it is laid flat and whether the vertical and yin and yang angles are square. Any non-standard places need to be refilled and trimmed with mortar. Then, after doing the previous work, apply the finishing paint. Wait until the anti-crack mortar is dry, and then apply it. At this time, you should also pay attention to the smoothness.
3) Facing brick facing
4) This step requires laying hot-dip galvanized welded mesh. After the insulation layer passes the acceptance inspection, apply anti-cracking mortar multiple times, and then lay the galvanized welded mesh. After the welded mesh is laid, it also needs to undergo relevant testing. After passing the test, anti-crack mortar needs to be applied.
5) Veneer bricks
6) After the previous steps of construction operations are completed, you can prepare the facing bricks at this time. The mortar thickness of the facing bricks is preferably between 3mm-5mm.
Post time: Dec-15-2023